Finally got some more work done on the CB400A this week. I tracked down the relay for the shift indicator and got that working. I also installed the grab bar on the back so I can strap my milk crate or bag there for grocery getting and trips to the library this summer. I rerouted the turn signal in the process but I couldn't get them to light up. Will try again now that the battery has a full charge.
I'm still waiting to install the headlight and turn signal. I need the headlight mounting brackets. The ones sent by
Speedmotoco in Eugene were too small and so I sent them back and they are supposed to send me another pair. Speedmotoco did send me a nice black drag bar to replace the elk horn handlebars that came with it. The old bars were comfortable but you sat bolt upright like a scooter. I remember my old CB and how I longed to have lower bars for tucking in on longer rides.
I needed the drag bars to install the viper faring too. Got a little worried after I got the bars on because I thought that I would have to relocate the mirrors too, but it looks like they will sit just outside the faring. Still not sure how I'm going to mount the front turn signals. I'll wait until the brackets arrive and go from there.
Installing the drag bars was (almost) a snap. I popped off the throttle and right side controls with no problem, but I had to cut the left grip to get it off, then I found that the screw on the bottom of the left controls was about stipped and stubborn in the hole. Got to use my new impact driver for the first time in anger and it worked like a charm. Everything went on the new bars, but I left that screw very loose. Will pick up a replacement the next time I'm at the hardware store, then bin the rounded off one.
I've been watching lots of how-to videos on YouTube about motorcycle restoration. Found
a great one on removing decals from your bike. The pulls decals off a fairly new Rebel with just WD40 and a hair dryer. So I gave it a go with my side panels and my heat gun.
 |
| Before WD40 and Heat Gun |
 |
| This one looks okay, the other one was already damaged and got a little hot from the heat gun. It needs major sanding and repair anyway. |
 |
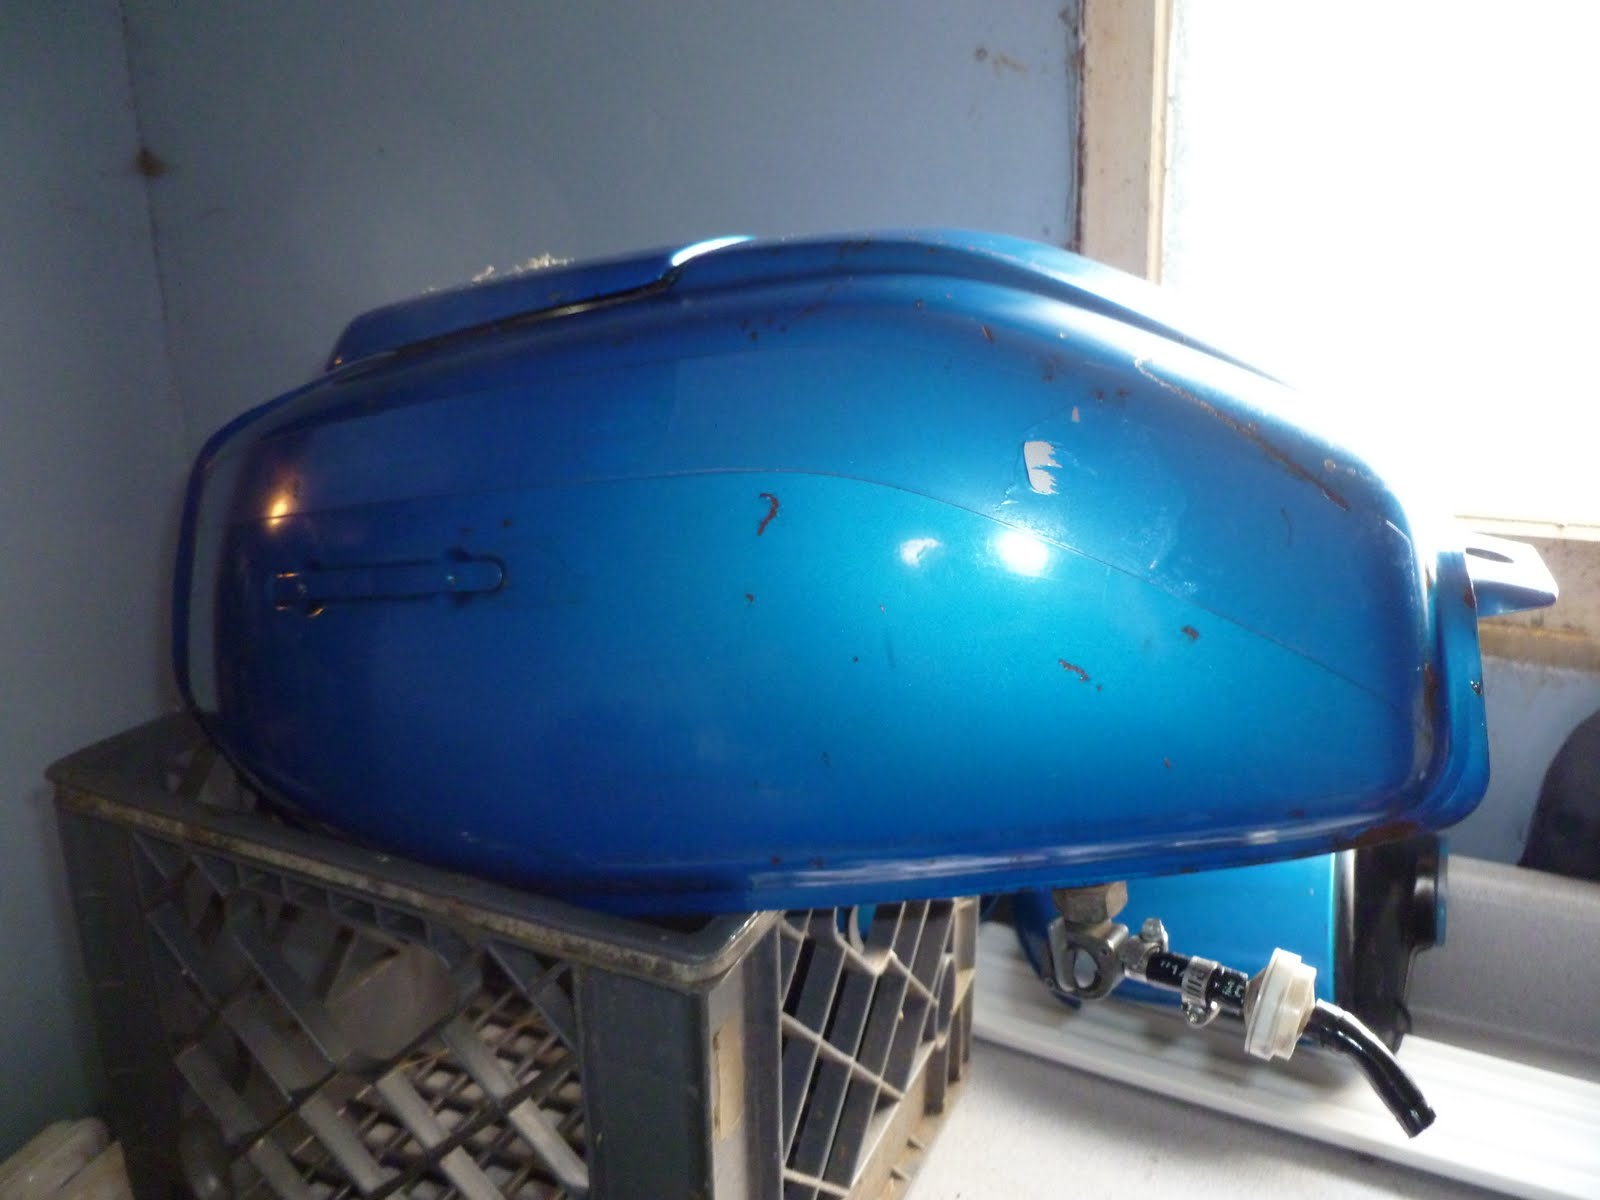
| The finished tank looks pretty good. |
The whole process took maybe an hour for all three pieces. The bigger decals came off easier than the little ones and my fingernails worked better than a scraper to get the first corner off. Have to keep a little heat on it while you peel I found. Best of all, they came right off with no damage to the paint below.
 |
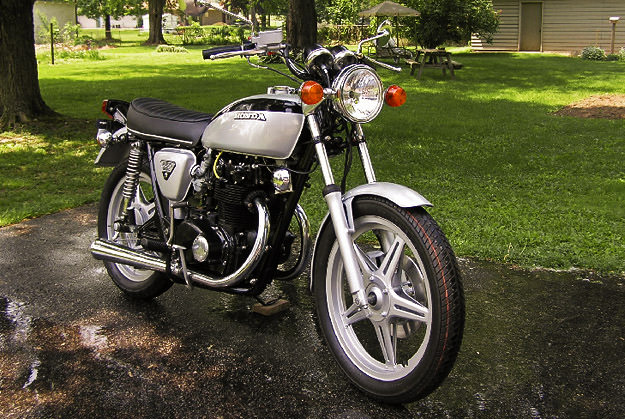
| BikeEXIF recently featured this beautiful CB450 with rattle can paint job! |
Not that the old paint is staying of course. I need to strip it down, fill the gaps, prime, paint and clear coat. I also have to bondo that big dent on the right front of the tank. Found some great YouTube videos on that too and I think I'll give it a go here at home. It the tank or the motorcycle was prettier, or worth more money, I'd invest in a pro paint job. But as it is a $600 bike, I'll do it myself. It can be done. Just check out this
rattle-can paint job! Here's a great
write up the owner did of the full ressurection/resotration. Like me, he's taking a cheap bike and making a great one with as little expense as possible. Very cool!
 |
| I like these colors ... nice car too! |
That leaves the question of what color to paint. Ever since I bought the bike, Amy has said that she loves the original blue. Now that the stickers are off, I can kinda see what's she's talking about. I can see I kind of Bugatti inspired paint scheme featuring blue and black. I've always loved the old blue Bugatti racers from the 1920s and '30s.
Covering the rusty chrome with high-gloss black and re-painting the surfaces with a Bugatti blue would leave me something like this picture at right. Now that's pretty!
On the other hand, I've also been pondering a more universal paint scheme inspired by -- of all things -- a music video. My plan was for a white tank, with black and school-bus yellow highlights everyplace else.
I still love this idea, but I think I'll save it for my next bike.
The "soul" of this old CB400 wants to be blue.
.jpg)


.JPG) After the paint is all down to bare metal, It's time for repair. Bondo is my dent remover of choice here. If you've never used it, there are tons of tutorials on YouTube to school you.
After the paint is all down to bare metal, It's time for repair. Bondo is my dent remover of choice here. If you've never used it, there are tons of tutorials on YouTube to school you..JPG) Once the Bondo work was done -- and all the sanding that went with it -- it is now time for paint. I start with a filler-primer that is supposed to fill in the imperfections.
Once the Bondo work was done -- and all the sanding that went with it -- it is now time for paint. I start with a filler-primer that is supposed to fill in the imperfections.